St. Lawrence River
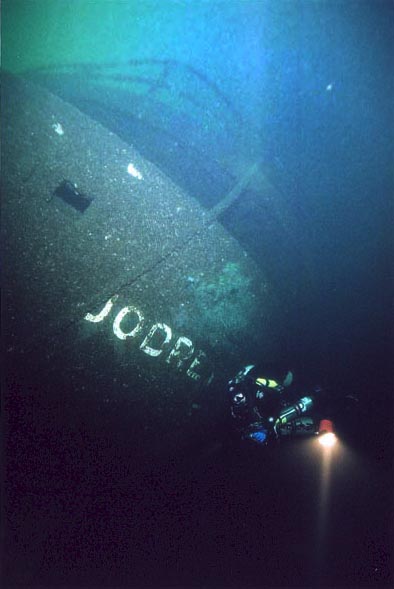
Roy Jodrey
Depth 130 ft (shallowest part of the stern) - 150 ft (shallowest part of the bow) to 240 ft (at the crack)
Roy A. Jodrey was built in Colingwood, Ontario for Algoma
fleet of self unloaders. The construction of this 640 ft self unloader was completed in
September 1965.
Some of the vessels built at the same time are still working
for various Great Lakes fleets. Jodrey, however, was not that lucky. On Nov 1974, in her 9th
year of operations, she ran aground near Pullman’s shoal in the St. Lawrence river.
Realizing that the damage was extensive, the captain attempted to beach her at the dock of
Coast Guard station, however, the damage was too big for the ship to stay afloat and she
slid right into the channel. Less than 4 hrs passed from the encounter with the shoal and
her settling on the bottom some 230 ft away
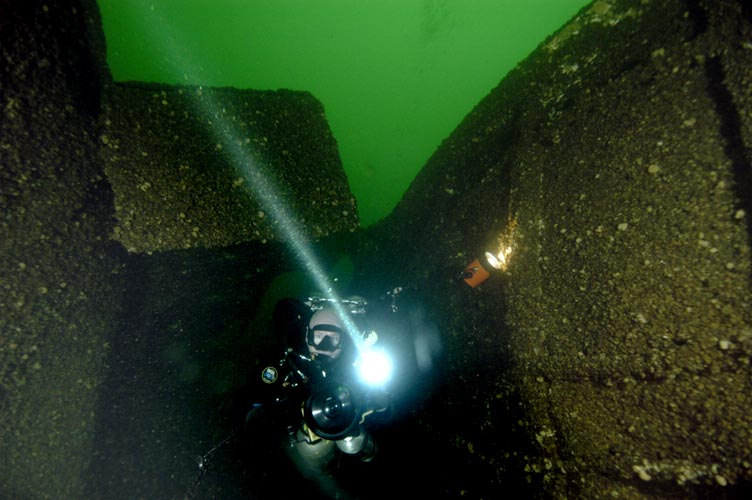
One would typically start the dive up current and then simply drop to desired depth while drifting into the wreck. Around 140-145ft would land you on top of the pilot house. 160 to 170 would have you close to the railing on the main deck. 180 to 190ft would have you either close to chain locker or the port anchor, depending on how close to the wall you decide to be. Most of the railings are reasonably zebra-clean, courtesy of passing divers, and the white paint is still quite visible


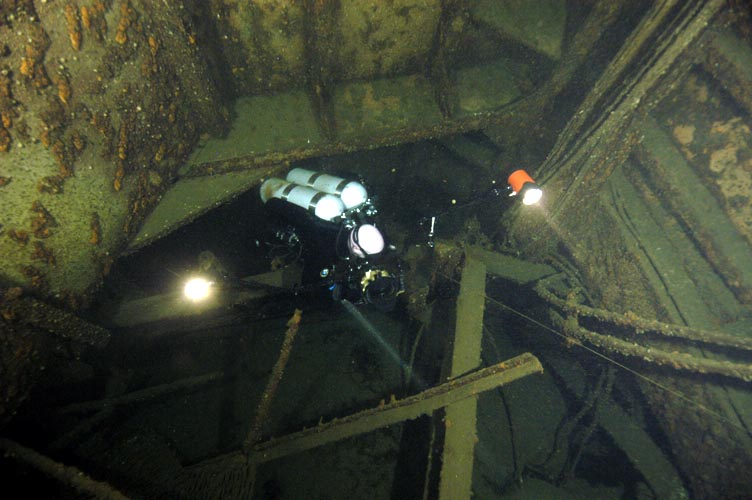
I like to start at the anchor, take few shots there and then just fly with the current following the ship's port side and counting portholes. Once the bow ends, I then hide away from current and proceed to either play around the boom and elevator shaft or make my way back to the pilothouse shielded from the current by the wreck.


Alternatively, you could drop down to 180-190 during the drift to the wreck and stay closer to the wall, which will lead to to the starboard side of the wreck and the chainlocker. This side is so twisted and torn, it is impossible to tell what you are looking at sometimes. The access to chainlocker is somewhat tight, but inside is roomy.
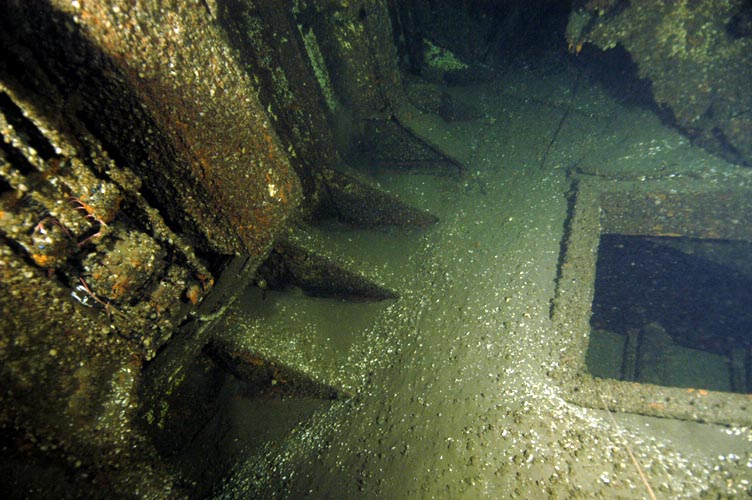


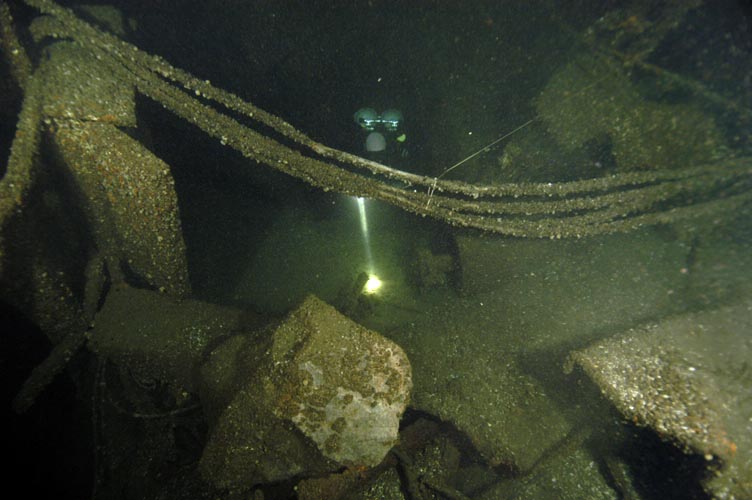
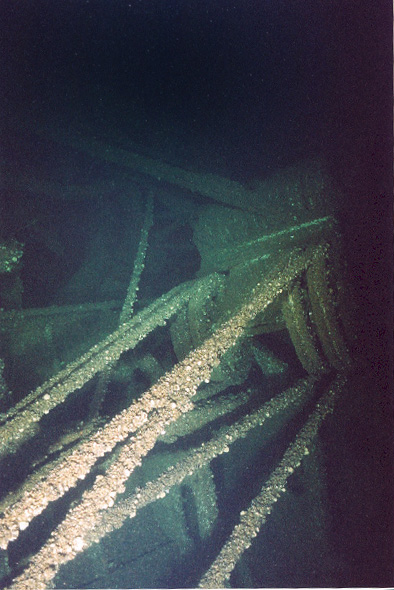
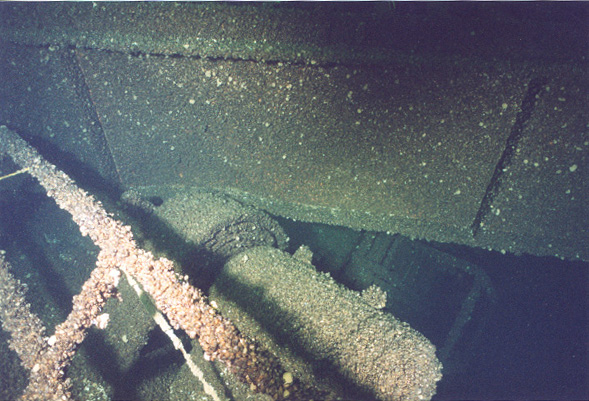
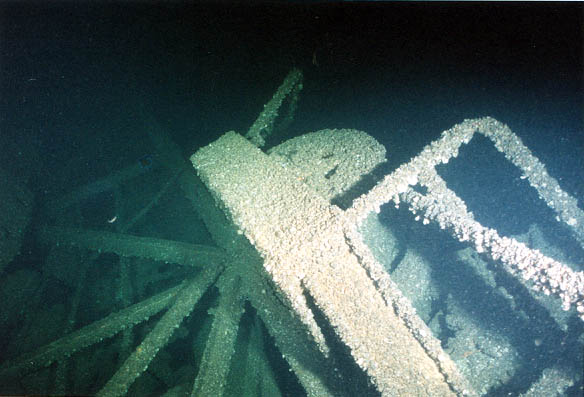
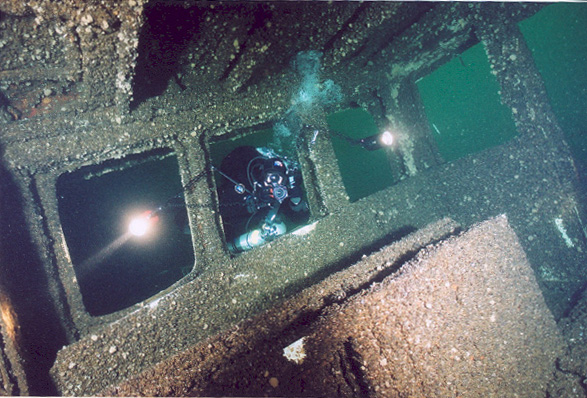
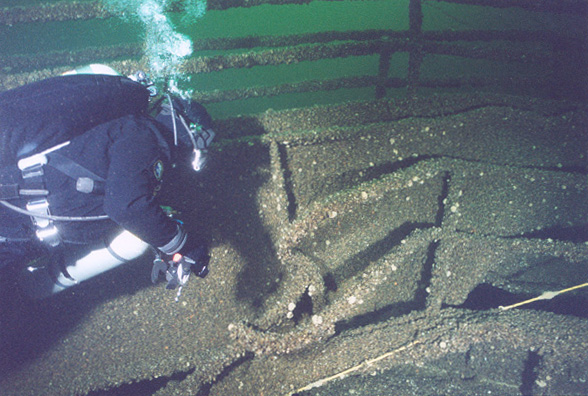
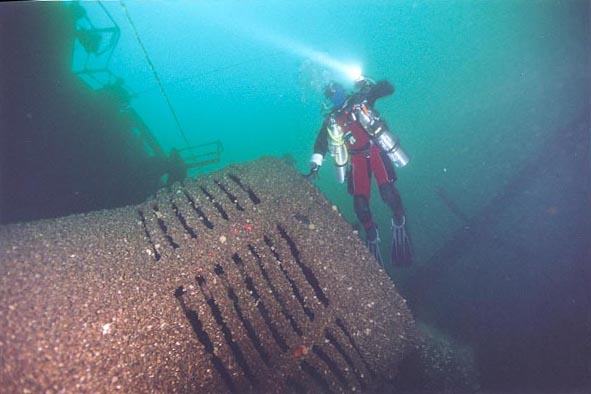
Jodrey was a self-unloader, meaning that it has a system of
conveyor belts going through the length of the ship. The cargo would get to those belts
from each of numerous cargo holds and would then be transported by conveyors to the
elevator system that would transfer the bulk cargo to the self-unloading boom, mounted on
the main deck. This boom could move from being parallel to the deck to more than 90 degree
angle and be able to unload the cargo at various points at the dock. The self-unloading
boom, the system of conveyor belts, elevator shaft, the hopper and


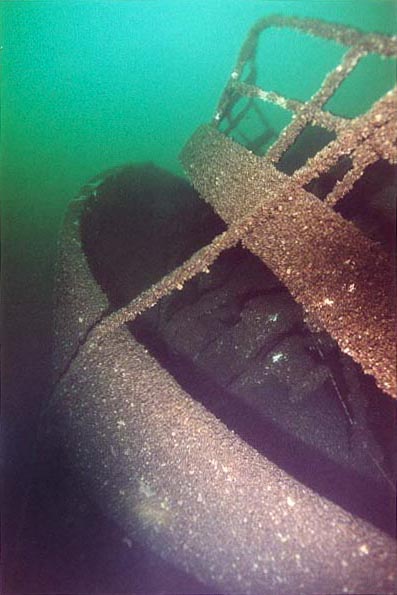
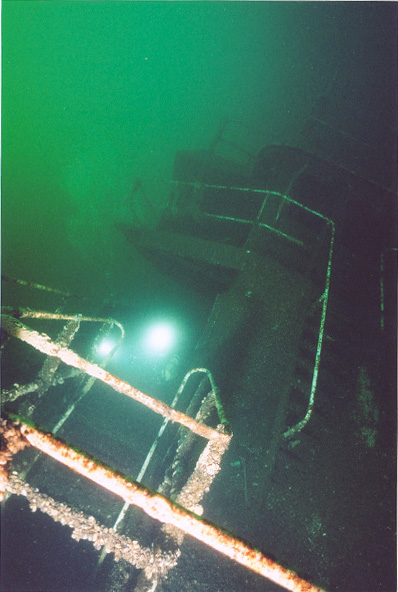
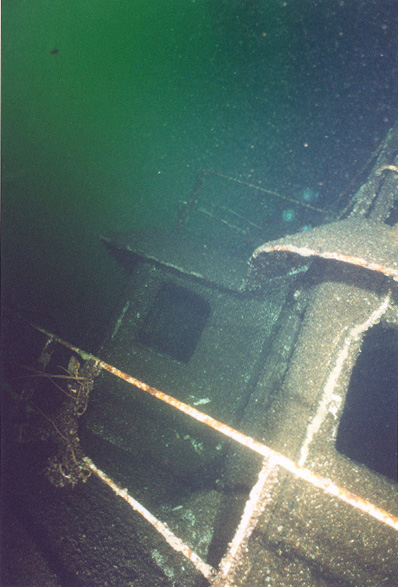
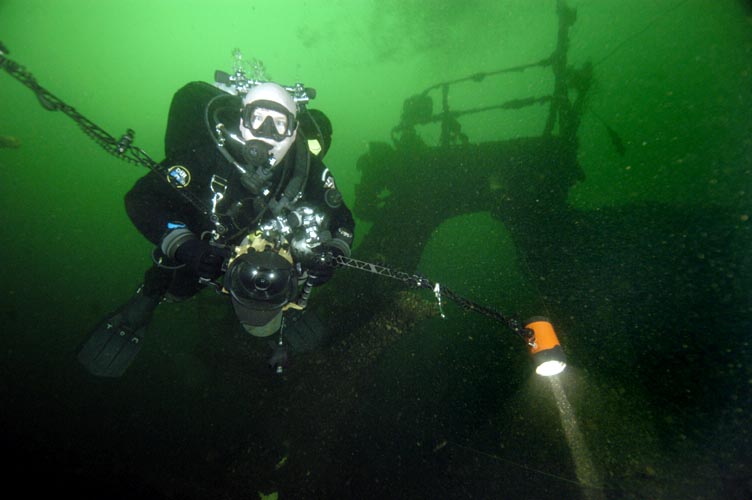
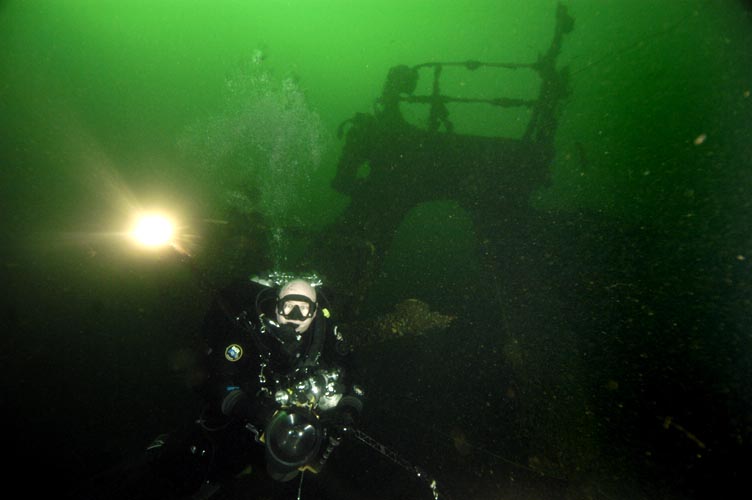
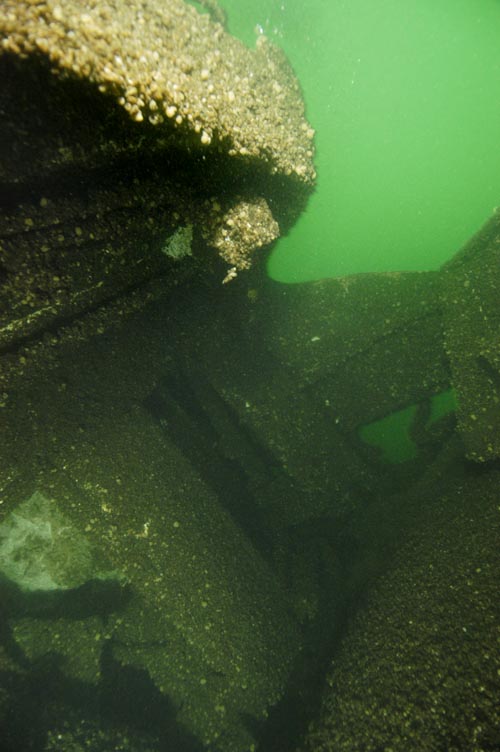
Another main attraction is a complete bow superstructure with the Texas style deck. The pilot house is well encrusted in zebra mussels, but the shapes of some objects are still identifiable. Also the view from both front and back windows is stunning in a nice viz.


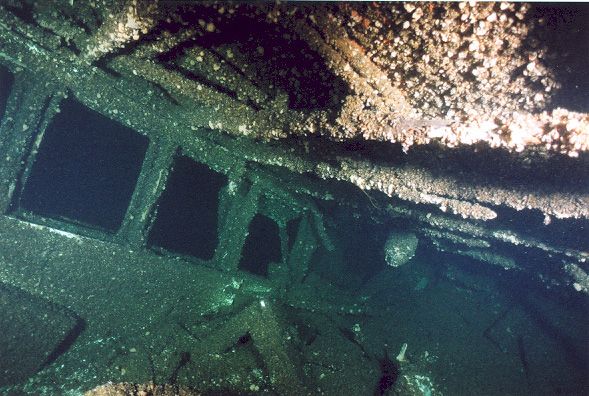


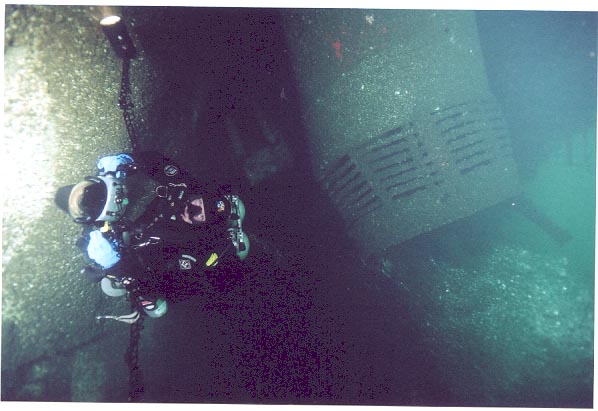
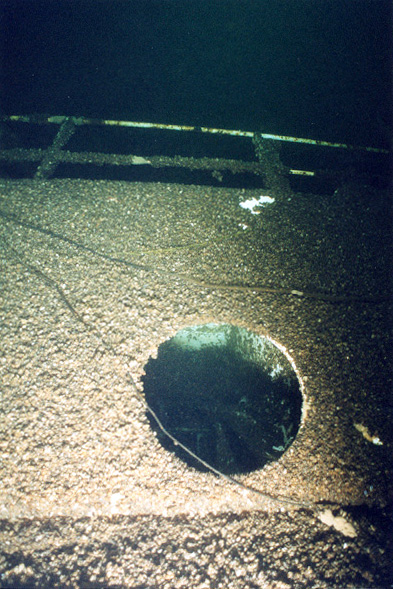
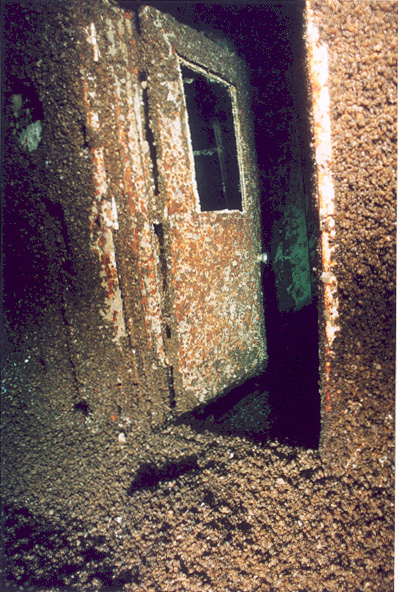
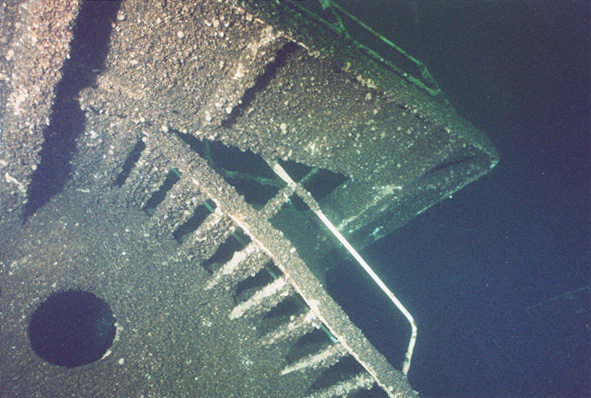
The deck below the pilothouse contained captain's quarters. One level below that were crew quarters for those that did not stay at the stern. There are some remains of the air conditioning and other systems in the various rooms. The main deck has a number of stairs as well as some hatches (see the one opened). The main deck is close to 170, depending on your position given the starboard list.


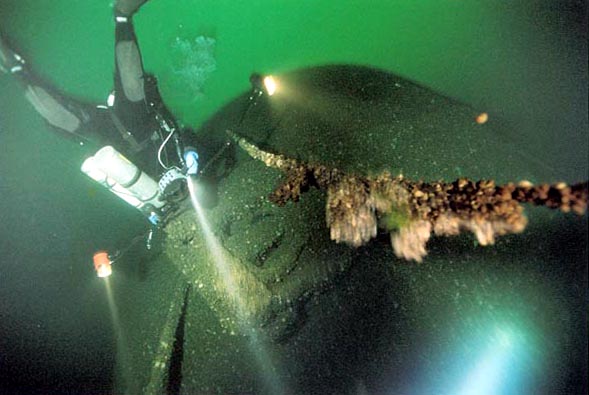
Immediately behind the pilothouse was a watch/communications tower displaying the sign showing the symbol of the ship - it broke during the sinking and only the outline remains.

Jodrey's engine room, galley and the mess are all located at the stern. Getting to the stern involves either dropping at the usual place in front of the the bow and drifting the length of the wreck or using the rope that connects the stern and the shore line in some pretty stiff current. Dropping at the bow and drifting to the crack in the wreck and further the length of the wreck is arguably easier, but involves significantly more time and deco due to the fact that the deepest part of the wreck is at the crack- the top of the rail there is at 210ft. The wreck then starts coming up slowly and the stern is in 130 to 180 ft.
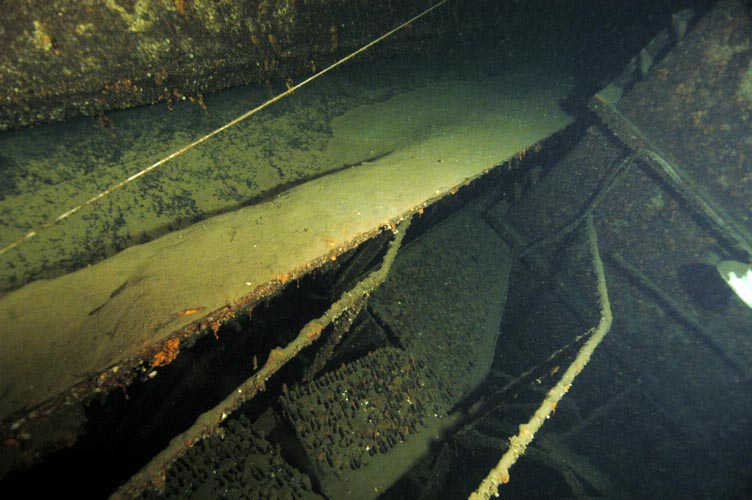
The crack is not a far swim from the bow - I believe it is right after the first couple cargo holds. The wreck twists at that point so that the rail is broken and, facing the stern, continues about 10 ft higher and to the left. There are some cables there that connect the two pieces. Right before the stern comes into view, the wrecks is twisted a bit more so that the stern lays entirely on its (starboard) side.


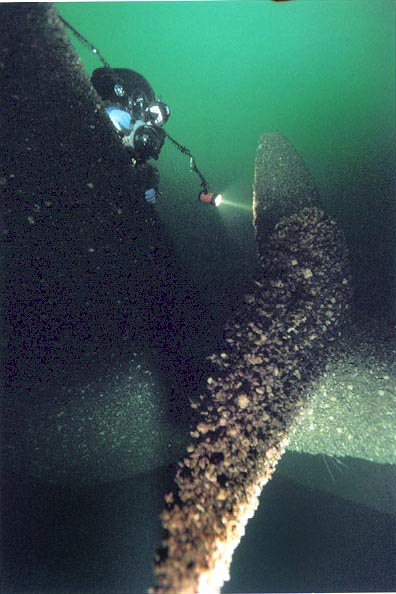
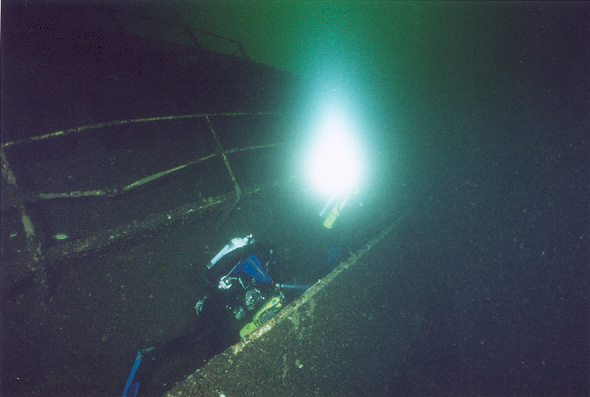
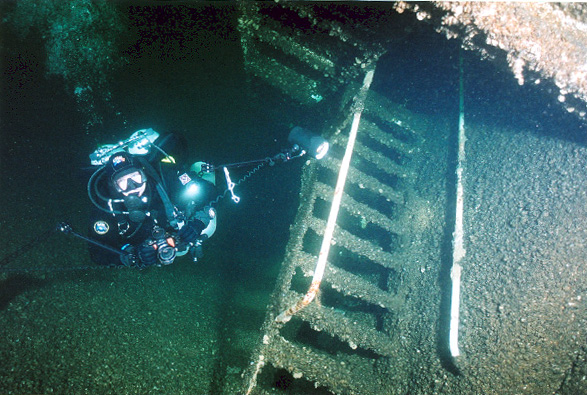
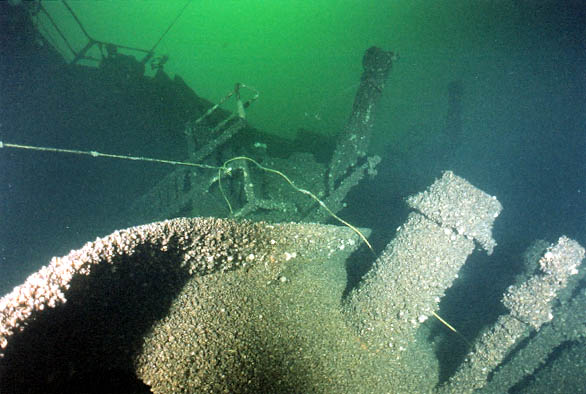
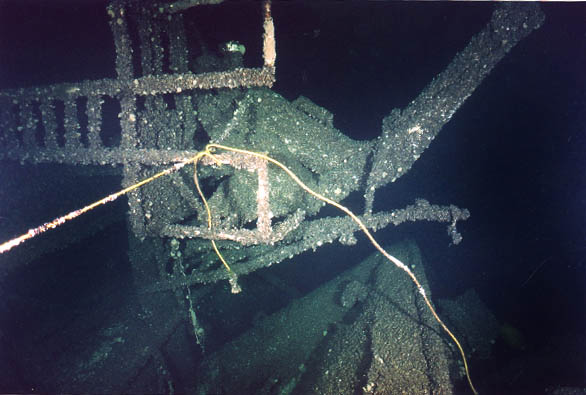
There are couple of lines leading to the shore from the stern part - one is attached at the point of the twist in the wreck and the other is at the top of the rail that is sitting right above the funnel (remember that the stern is on its side). Taking that rope to the shore would take about 10 min and change of depth from 130ft to 30ft, so you end up doing your deco on the rope in the very stiff current. The photo above shows the point where the rope is attached to the railing (see where the bottle is clipped off)

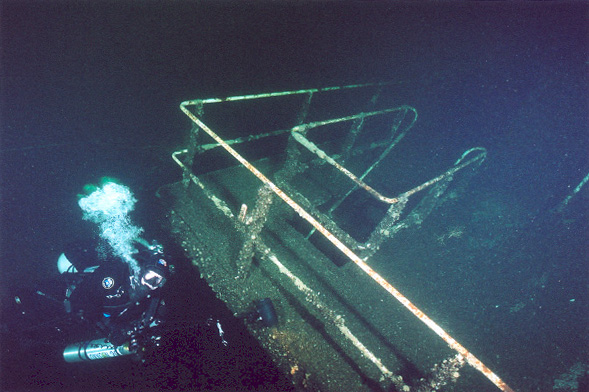
Stern has as much if not more interesting features as the bow. The superstructure is not as intact as the bow with a lot of bent iron instead of straight lines that one would expect. Port side corridor (that is now at the very top due to wreck's orientation) provides a shelter from current.

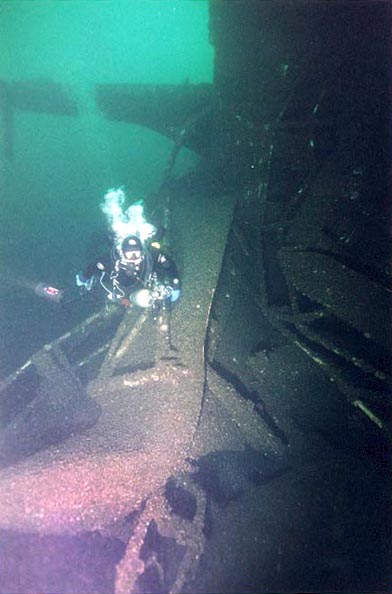


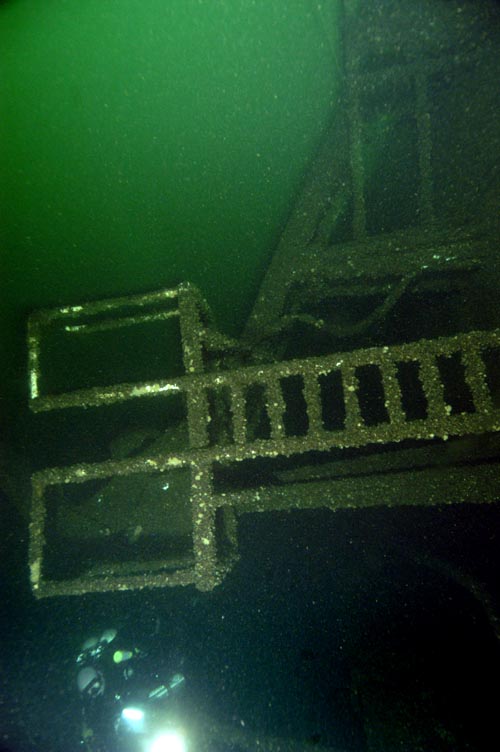
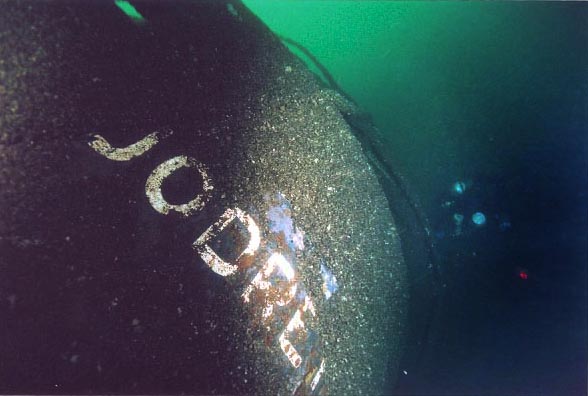
The funnel is still reasonably straight, although it is at an angle due to the position of the stern. That funnel still carries the company name and logo on it. There are lifeboat davits towering above the funnel due to the position of the wreck. Ladders that were used to climb to the lifeboats are almost horizontal.


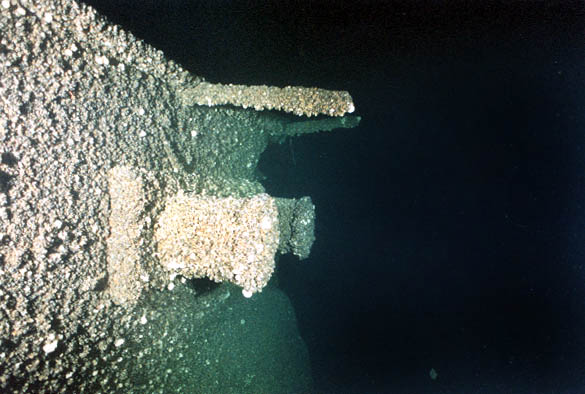
Other attractions include intact communications mast that on a good visibility day and in the right current comes very close to the rope, the ghost out of the shadows scaring the first time visitors. The very stern has a spare anchor that is almost dead in the center. Below that anchor is the prop and the huge rudder. Above the anchor is the name. Be aware that the currents in the prop area can be very strong, but weaker closer to the bottom.